
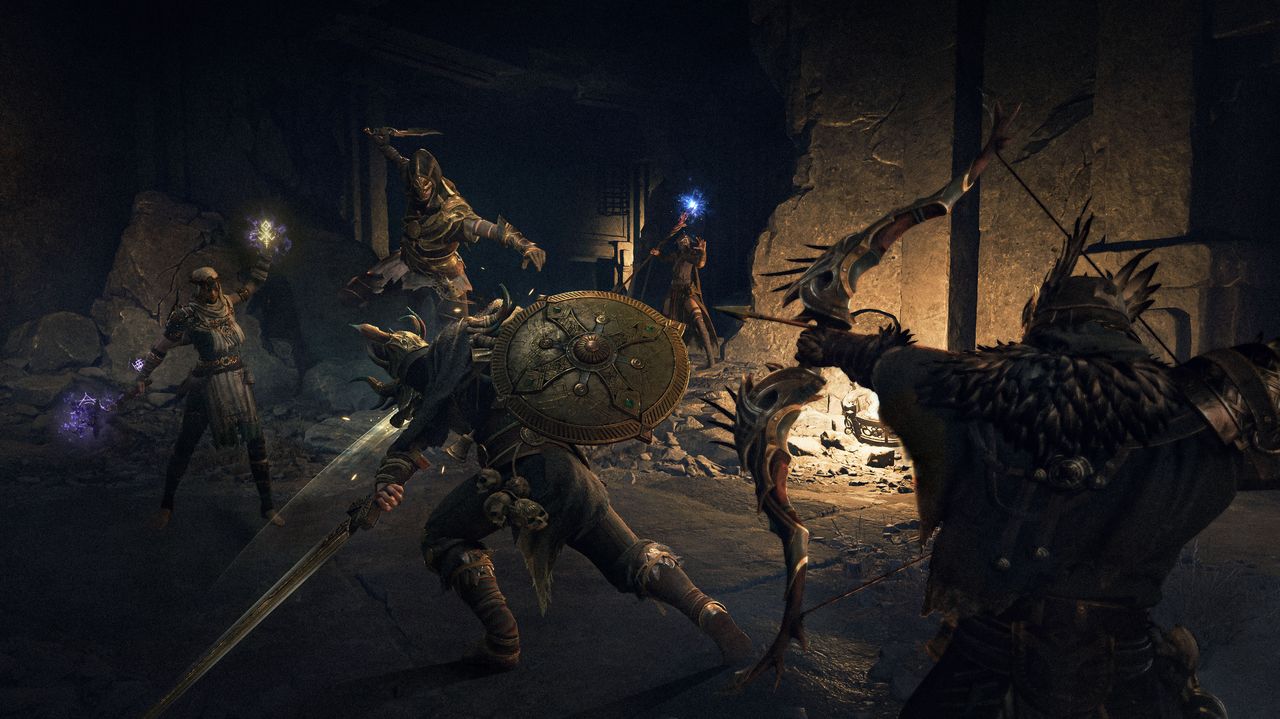
Quick answer
Choose Greatsword if you want to learn the documented Judgment, Wither, and heavy-strike relationship. Choose Polearm & Shield if you want the approved beginner setup that records spear, shield, and Wither tools together. Current strength, Affix values, and the best loop are To be confirmed until same-patch current-client testing is available.
Wither mechanic
The Withered Knight build index records Greatsword presets and their named skills, while the approved Polearm & Shield transcription explains how its basic attacks charge Judgment. Its route text says a charged weapon can apply Wither and that Heavy Strike branches can execute a target affected by Wither. Treat that sequence as a mechanic to verify in the live client, not as a claimed damage result or a guaranteed combat rotation.
The approved Polearm & Shield transcription also describes Javelin Thrust and Breaker Shield Bash as tools that apply Wither. That supports a route comparison based on how a player starts or follows up on a mark. Exact values, cooldown behavior, and the most reliable order are To be confirmed by current-client testing.
Weapon routes
Greatsword
The Withered Knight build index records a Greatsword preset with the skills Parry, Radiant Retribution, and Breakthrough Charge; the talents Greatsword Specialization, Crime, Bad Karma, and Legacy; and the Affix Stoic. This is a concrete source-backed route to inspect, not a current power or value claim. Exact Affix values, a final priority order, and a current optimal loop are To be confirmed through current-client testing.
| Route | Documented cues | Practice question |
|---|---|---|
| Greatsword | Judgment, Wither, heavy strikes, and the listed preset skills. | Can you recognize the live mark and follow-up condition? |
| Polearm & Shield | Spear Barrage, Javelin Thrust, Breaker Shield Bash, and shielded movement. | Can you combine range, block, and follow-up without overcommitting? |
Beginner setup
Polearm & Shield
The Polearm & Shield beginner setup transcribes an official Discord recommendation with Spear Barrage, Javelin Thrust, Breaker Shield Bash, Rising Morale, Momentum Shift, and Shield Wall Slam. It also lists Stoic, Tenacious, Wrath, Strife, and Resilience as Affix candidates. Use these names to find the actual live options, not as a promise that every listed selection is currently optimal.
Start with the selected weapon skills and read their live requirements before adding the talent names. Spear Barrage is described as a sequence of thrusts, Javelin Thrust as a thrown spear follow-up, and Breaker Shield Bash as a frontal shield action. That is enough to build a practice checklist without inventing damage, energy, or timing numbers.
If you start with Greatsword, use the same restraint: identify the live weapon condition, one mark application, and one documented follow-up before expanding the setup. The database's named preset provides a useful reference point, but current-client testing is needed for a final talent path. A mismatched live tooltip is a reason to stop and recheck, not to force an old list into the build.
Equipment and affix priorities
The approved beginner source records defensive, health, damage, and debuff-related Affix names for the Polearm & Shield setup. That makes them categories to compare against the item text you actually own, rather than a ranked shopping list. Equipment values, breakpoints, and a best Affix order are To be confirmed through current-client testing.
Build a low-risk kit that supports the route you are learning, then change one Affix family at a time. For a shield route, check whether the live text helps the defensive situation you are practicing; for Greatsword, check whether it supports the condition you can repeat. Keep the test version and client context with your notes so a later update does not turn an old result into a current claim.
Combat loop
Greatsword solo loop — To be confirmed
This heading poses a practice question, not a verified mode assignment; an optimal Withered Knight loop is To be confirmed. Begin by confirming the active weapon mode, identify whether the live client shows Judgment or Wither, and choose only a follow-up whose condition you can see. After the action, reassess your position and available defense before committing to another long animation.
Polearm trio loop — To be confirmed
This heading poses a practice question, not a verified mode assignment; solo and trio suitability are To be confirmed. For Polearm & Shield, practice the cited selected skills one at a time before trying to chain them together. A sequence becomes a recommendation only after current-client testing shows that it still works under the stated conditions.
Mode adjustments
Solo and trio build adjustments are To be confirmed until current-client testing compares the same route in both modes. The approved community article may help frame PvP practice questions, but it is not evidence for live values or a universal mode ranking. In solo play, prioritize learning whether your selected action leaves a safe response; in a group, agree who provides space before committing.
Use a shield-bearing route as an opportunity to test frontline positioning and a Greatsword route as an opportunity to test committed follow-ups. Do not infer that one route is always for solo or always for trios from a dated guide. Record the mode, route, and patch whenever you test a proposed adjustment.
FAQ
Does Wither have one fixed combo?
No current fixed combo is claimed here. The cited sources describe mark and follow-up relationships, but the best order is To be confirmed. Verify the live conditions before calling a sequence reliable.
Which route should I start with?
Polearm & Shield has the approved beginner transcription, so it gives you a sourced list of skills and Affix candidates to inspect. Greatsword has documented preset entries for a separate practice path. The better current first route remains To be confirmed.
Can I copy the listed Affixes exactly?
You can use the cited names as a live-client checklist. Do not copy their values, breakpoints, or priority without rechecking each item. Those parts require current-client testing and are To be confirmed.
Sources and verification
- B · Database — MistfallDB Withered Knight Builds for route structure only; its dated meta labels do not prove current strength.
- B · Database — MetaMist Polearm & Shield beginner setup for beginner setup transcription only; check live skill text and Affixes before using it.
- B · Database — GameDB Updates for update history only; it does not establish a current optimal loop.
- C · Community — NerdsChalk PvP guide for PvP practice context only; do not use it for live values or rankings.